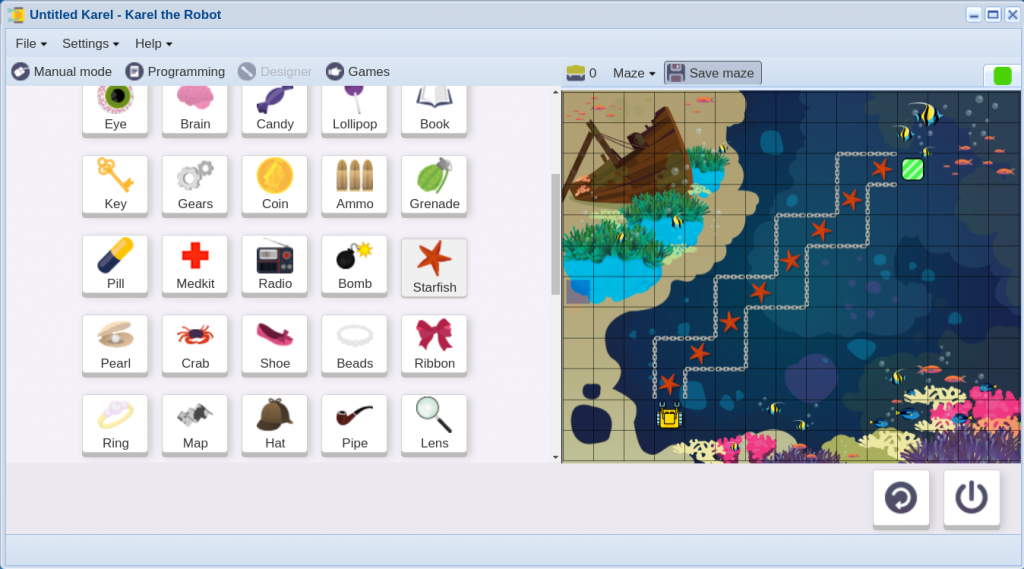
In Issue 3 of the NCLab Newsletter you learned how to create Karel mazes. In the present lesson we will pick up where we left off, and explain how you can make your own Karel coding game. This is the maze that we built last time:
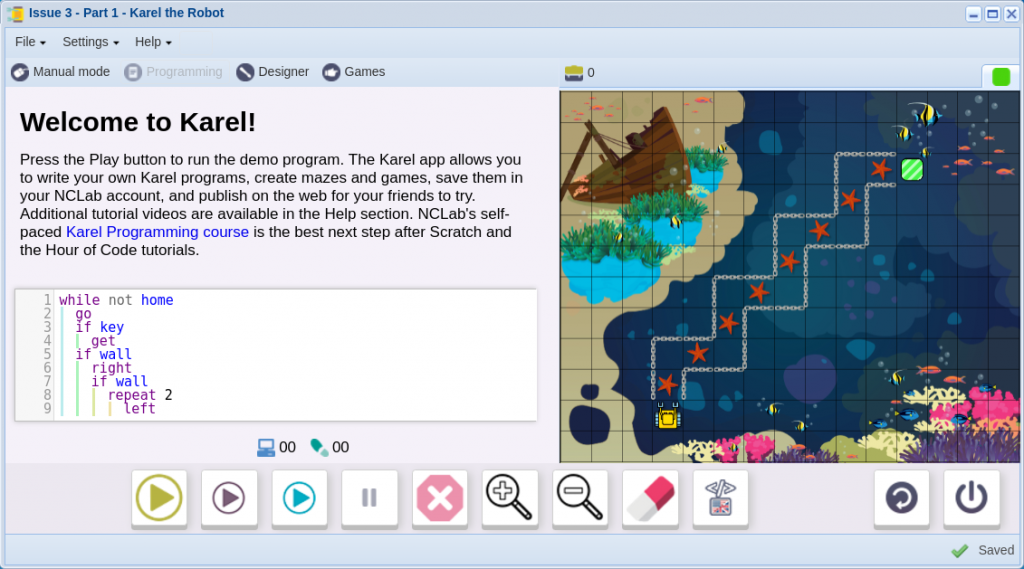
Let’s switch back to the Programming Mode in the upper menu. As you can see, both the demo script and the generic description are still there:
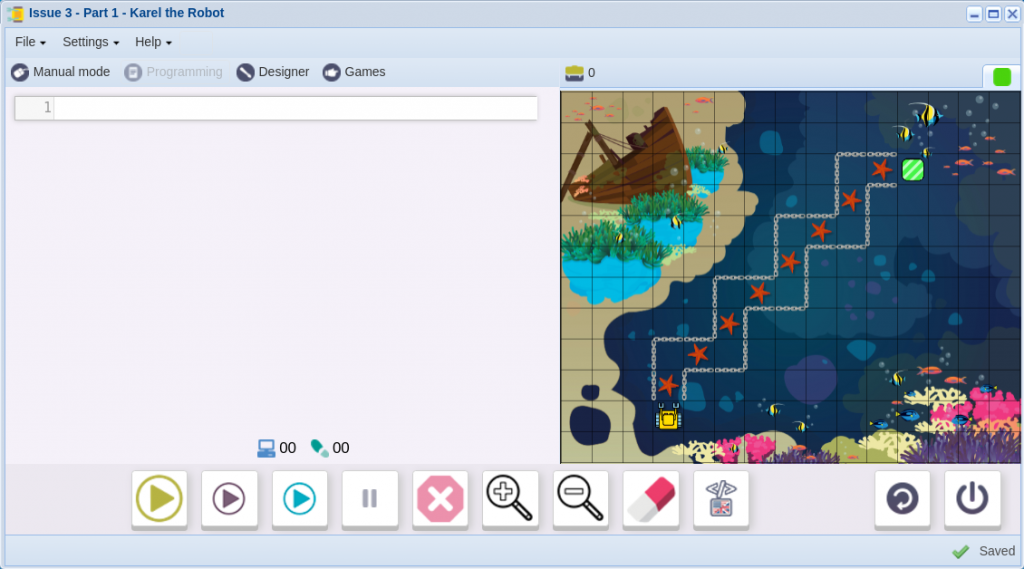
Let’s erase them both. The descriptive text cell has a closing button in its upper right corner once you move your mouse there. To erase the demo program, use the Eraser button:
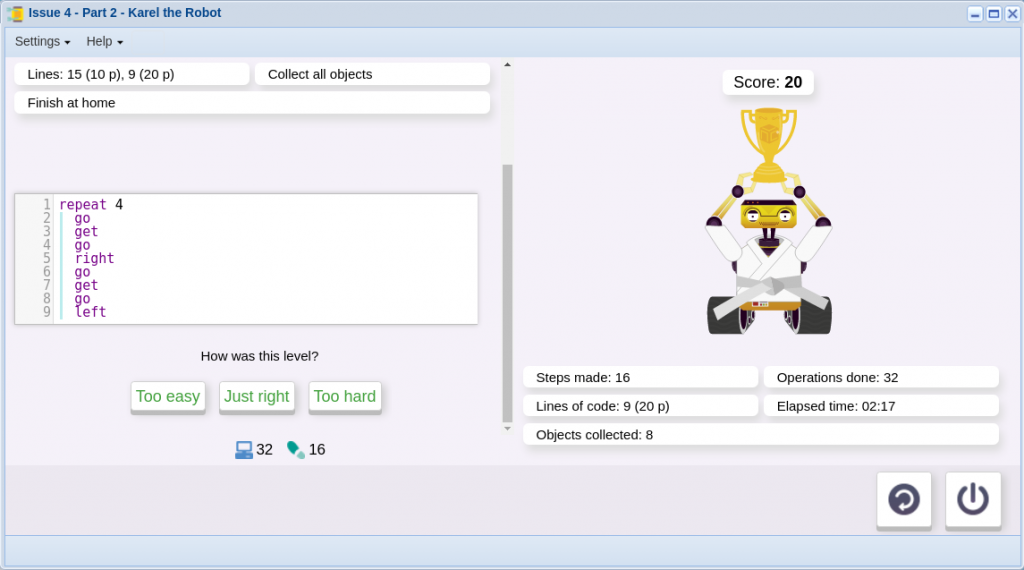
The next step is very important: SOLVE THE TASK YOURSELF. You would be surprised how often people create tasks which are too difficult or impossible to solve. Then, of course, the whole game becomes useless. This step prevents that. In this case, we need to write a program for Karel to get to his home square, collecting all starfish on the way. Here is a solution with 9 lines:

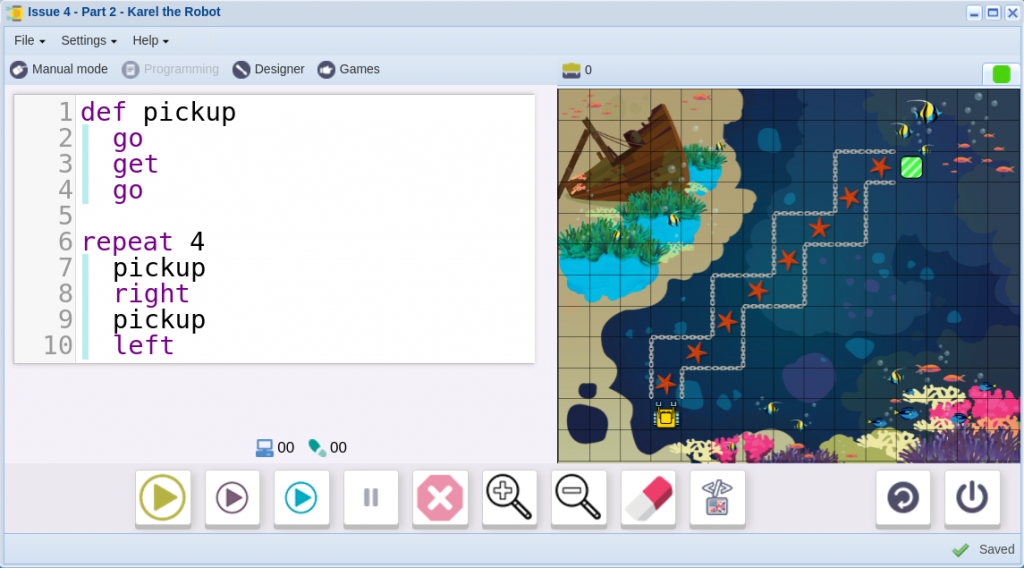
You can notice that the sequence of commands go-get-go is repeated in the code two times. That’s not a good programming practice. One should create a new command for that. Here is the new code, introducing a new command “pickup”. In this case, it does not make the code shorter though:
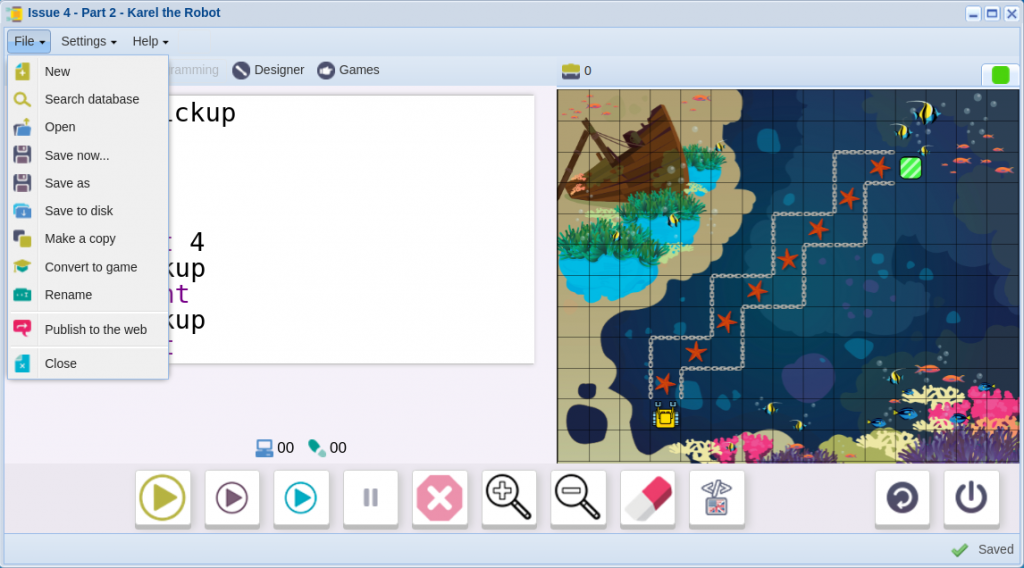
The good news is: YOUR GAME IS SOLVABLE! Great, let’s finalize the game. For starters, go to the File menu. One of the options is “Convert to game”:
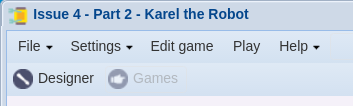
Click on that option. An irreversible change will take place and the standard worksheet will be converted into a game worksheet with different menu items. Notably, you will see a new button “Edit game”.
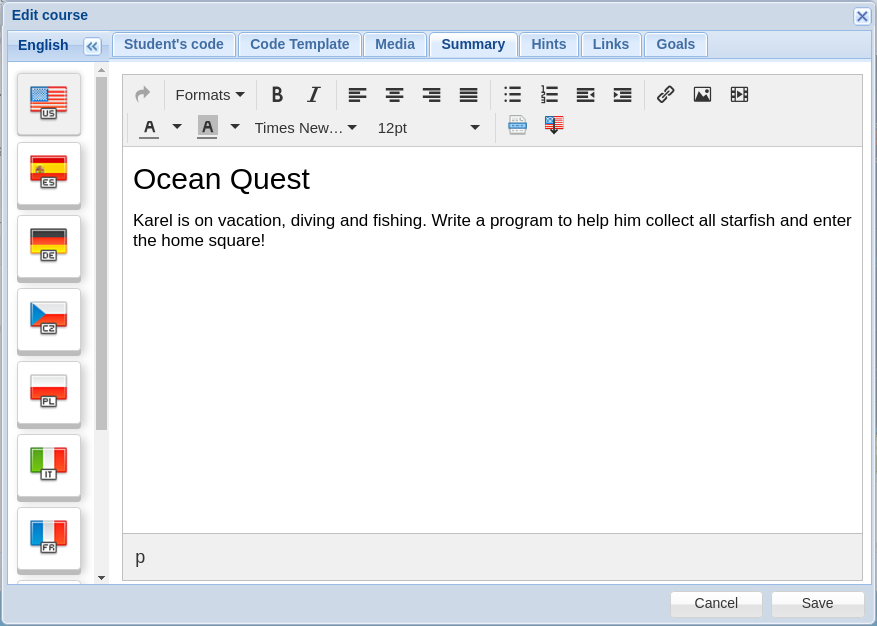
Click on it, and a simple text editor will open for you to enter the game description. Adding game description is mandatory, because people need to know what your game is about!
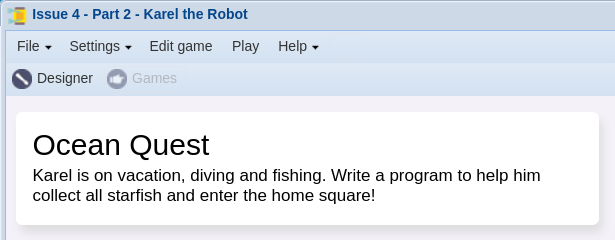
Now, if you click on Save, the description will become part of your worksheet:
And now the final step – setting game goals and limitations. Click on “Edit game” in the menu, and go to “Goals”. You will see the Goals Panel:
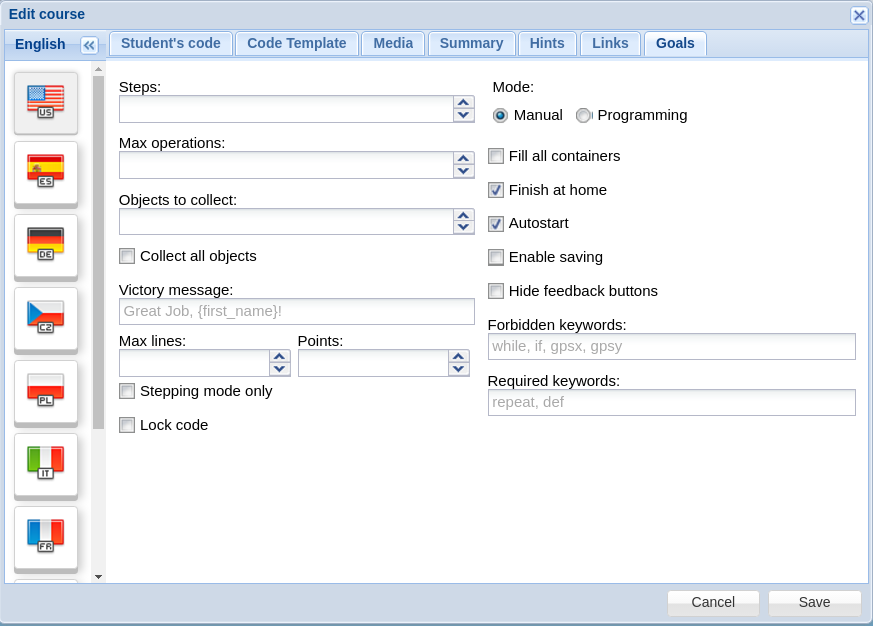
Most fields in this panel are self-explanatory. You can limit the number of steps and/or operations the user can make, say how many objects s/he must collect (or say to collect ALL objects). You can also specify different number of points for programs of different lengths. Importantly, on top right you must choose whether the game is in manual or programming mode. The “Fill all containers” option is only relevant if there are containers in the maze – such as marks, boxes, bags, baskets, etc. This is how the panel looks like to our game:
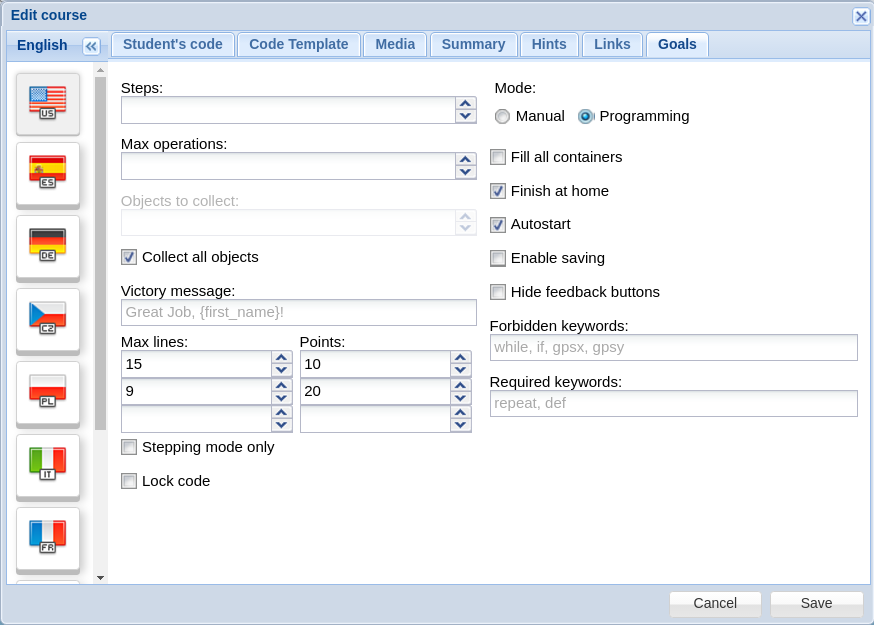
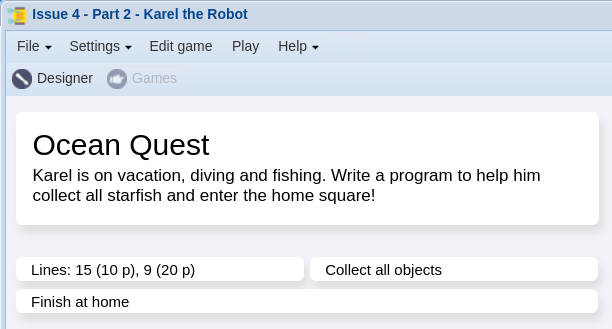
And after hitting Save:
Can you see the Play button in the top menu? That’s how you play the game yourself, giving it a dry run!
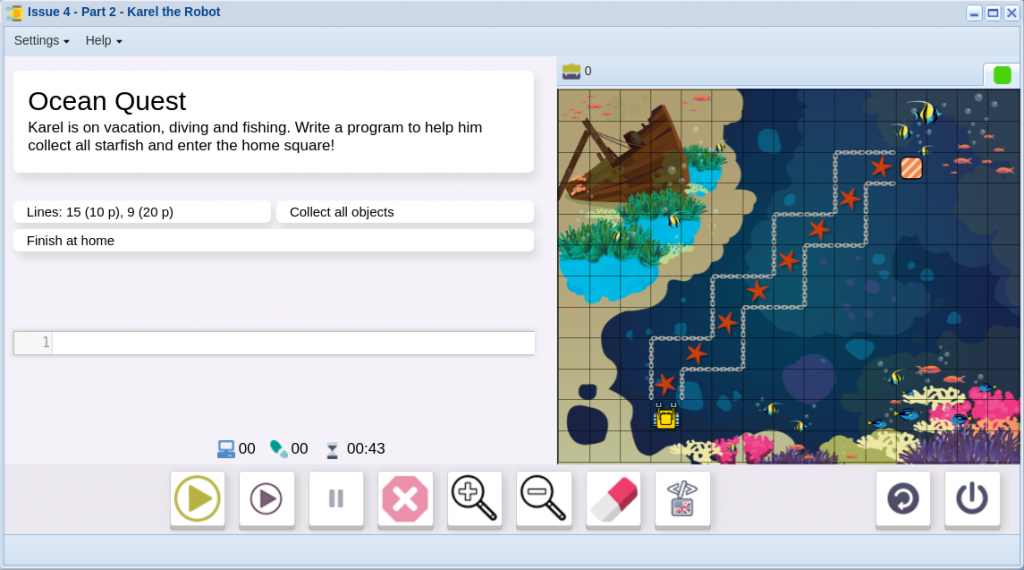
To test whether your game is ready to go, type your program and see whether it will be successful. And – no surprise there!
Since this article is getting really long, we will save for next time the explanation how to publish your game online and share with your friends. Thank you for lasting til the end!